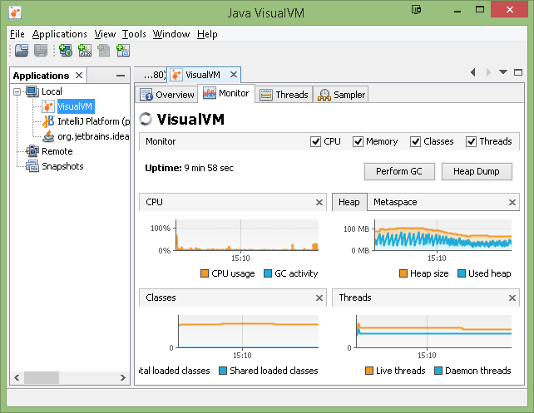
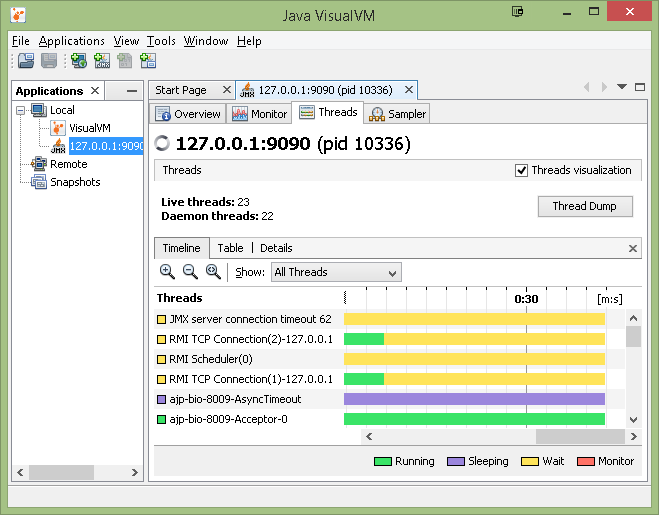
It’s always good to ‘see’ how your Apache TomEE server is performing in a real world environment. A really great visual tool for this job, that actually ships with the latest Java Development Kit (JDK), is the Java VisualVM application.
I will assume you already have a recent Oracle JDK and Apache TomEE installed as a Windows Service.
Although this post will focus on the Windows Service platform, most of the information is relevant for other Java platforms.
You’ll find this tool in the C:/Program Files/Java/[JDK]/bin directory as ‘jvisualvm.exe‘ – Just run it and have a play with the application before we get actually started.
OK, once you have finished checking things out close VisualVM for now.
Let’s get ready to monitor
Some small, but important, side notes before we begin:
- Any time I mention ‘run‘ please right click the executable and ‘Run as administrator‘, as most of the following steps require elevated privileges.
- Make sure you run VisualVM on either the same or better Java Runtime as Apache TomEE is running. It is not critical to do this, but some features in VisualVM will not be available if you do not.
- Locate the path your [TomEE] installation
- Know that any changes to the service described here will only be valid for the currently installed service. Reinstalling the service using the batch files will reset the parameters – My next article will be focusing on a detailed description of the Service configuration.
I will go through this step by step just to keep it as simple and as clear as possible – If you are sure of your Service environment then please feel free to skip the first two steps.
- To ensure we have a clean environment run [TomEE]/bin/service.remove.as.admin.bat to uninstall an existing service
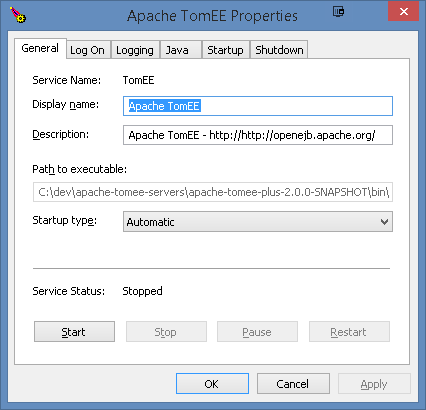
- Run [TomEE]/bin/service.install.as.admin.bat to install the service using the Apache TomEE defaults (the service name will be TomEE and display name Apache TomEE)
- Run [TomEE]/bin/TomEE.exe – This will start the service configuration program.
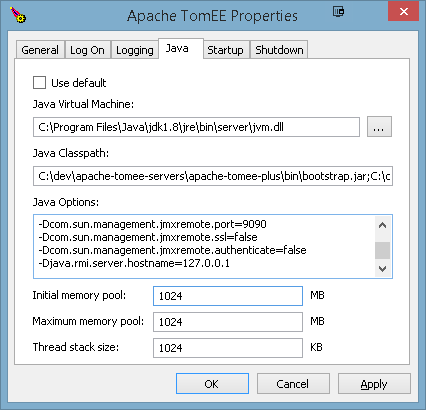
- In the ‘Java‘ tab add/append the following lines at the end of the ‘Java Options:‘ text area – This will configure localhost JMX monitoring on port 9090
-Dcom.sun.management.jmxremote=true
-Dcom.sun.management.jmxremote.port=9090
-Dcom.sun.management.jmxremote.ssl=false
-Dcom.sun.management.jmxremote.authenticate=false
-Djava.rmi.server.hostname=127.0.0.1
- Click the ‘Apply‘ button
- Back on the ‘General‘ tab click ‘Start‘ – If this fails to start then do not continue, just get back to me with your log files.
- Start/run Java VisualVM
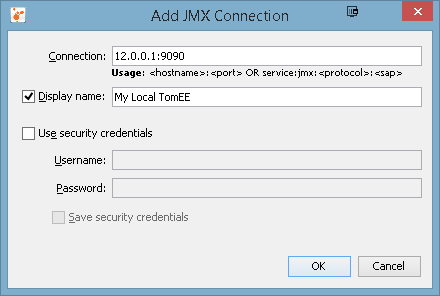
- Right click the ‘Local‘ node and select ‘Add JMX Connection‘ – This will open a small configuration window.
- Enter ‘127.0.0.1:9090‘, optionally give it a name and then click ‘OK‘ – You should now see this as a new node listed in VisualVM.
- Double click on the new ‘127.0.0.1:9090‘ node – This will start monitoring the server.
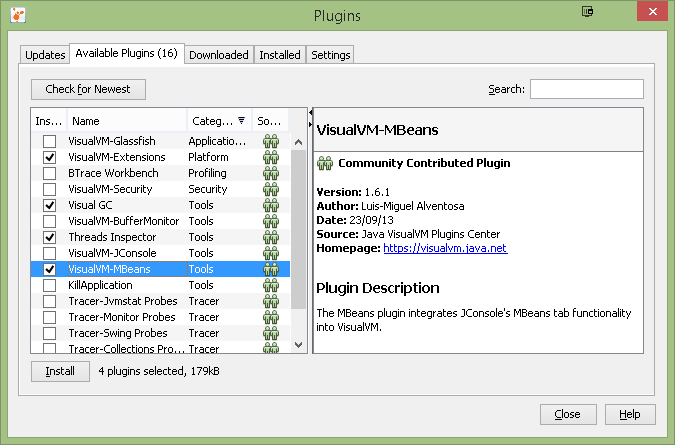
The Java VisualVM program is a powerful tool that can go way beyond basic monitoring and the scope of this post. Check the Tools – Plugins – Available Plugins menu for some really cool additional features, and be sure to read the documentation. Hint: The VisualVM-MBeans plugin will open up the door to all the TomEE JMX internals.
Remote Access – How Dangerous is This?
Here we have only enabled unauthenticated JMX monitoring on localhost (127.0.0.1), so monitoring will not be accessible from a remote machine as is. That said, you should only ever enable monitoring in a secure environment as all local users will have access to the local port.
If you really want to enable authentication for remote JMX access from either the local machine or another machine then things get a lot more complicated, at least on Windows in a Service environment.
There is actually a more simple way to activate authentication than I am about to describe below, and that is to run the server outside of the Windows service framework altogether. The nature of this post is to stay close to the real world though, so I’m going to focus on the hard way. Bear with me.
The Hard Way
Due to the restricted nature of the Windows service environment we need to create a specific user that has rights to run as a Windows Service. There are lots of ways to do this and it is beyond the scope to describe all of them here, so I will try and get you through this as best as I can.
- The first step is to create the Local User – At the time of writing, the following link is the best resource I could find to guide you through the process: Create a user account – You can use any Username and Password that you like, but it is important to make sure the user is a Local User. I will use ‘tomee‘ for this example.
- Next we need to grant this user the special permission ‘Logon-As-A-Service‘ (SeServiceLogonRight) – Again there are many ways to do this, and several scripted or programmed solutions are documented here.
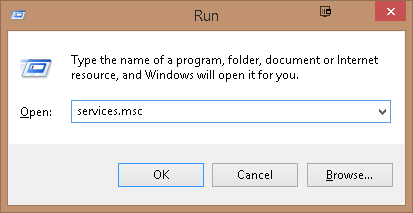
However, there is a simple built in way (albeit manual) and that is to use the Windows Services Snap-In to modify the Apache TomEE service:- Press the Windows key + R to call up the ‘Run‘ dialog and enter services.msc then run it by pressing ‘OK‘.
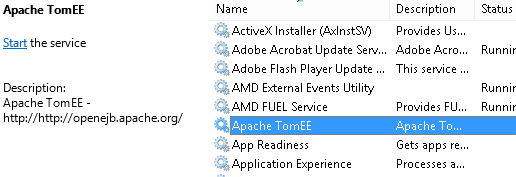
- Locate the Apache TomEE service in the list view and and open the service properties window (Double-Click)
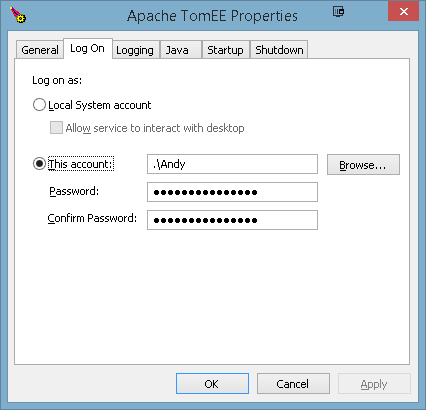
- On the ‘Log On‘ tab choose ‘This account‘ and select (Browse) the user that you just created and enter the password.
- When you click on ‘Apply‘ or ‘OK‘ you should see a brief message that the user is granted the ‘Logon-As-A-Service‘ permission.
- Press the Windows key + R to call up the ‘Run‘ dialog and enter services.msc then run it by pressing ‘OK‘.
Note: You cannot use the [TomEE]/bin/TomEE.exe program to perform the above steps as this will not grant the user the required permissions.
OK, so now we should have a new user with the correct permissions and we have also told Windows to actually use this user to run the Apache TomEE service. You can go ahead and close the Services Manager.
Configure & Enable Authentication
- Run [TomEE]/bin/TomEE.exe – This will start the TomEE service configuration program.
- On the ‘General‘ tab stop the service (This may take a moment or two)
- Now create two plain text files in the root of the ‘tomee‘ users home directory (C:/Users/tomee), one called ‘jmxremote.pw.txt‘ and another called ‘jmxremote.acc.txt‘
- Edit ‘jmxremote.pw.txt‘ so that it contains the line (your own secret password, and no preceding or trailing spaces or new lines):
jmxadmin apassword
- Edit ‘jmxremote.acc.txt‘ so that it contains the line (Also no preceding or trailing spaces or new lines):
jmxadmin readwrite
- As we did in the steps above add/append the following to the ‘Java Options:‘ text area (changing the paths accordingly to point to the files just created).
-Dcom.sun.management.jmxremote.password.file="C:/Users/tomee/jmxremote.pw.txt"
-Dcom.sun.management.jmxremote.access.file="C:/Users/tomee/jmxremote.acc.txt"
- Change the following lines to enable authentication and optionally define the public IP-Address for remote access (Leave as localhost/127.0.0.1 if you just want to secure the service locally):
-Dcom.sun.management.jmxremote.authenticate=true
-Djava.rmi.server.hostname=[Your public IP-Address or localhost]
- Click the ‘Apply‘ button, but do not restart the service or close the configuration just yet. There is one last critical phase required.
Grant Restricted File Permissions to TomEE Service User
The property -Dcom.sun.management.jmxremote.password.file only works when access to the specified file has been restricted to (and only to) the actual service user (‘tomee‘ in this case). This is a real gotcha and caused me a real headache to work out, so do not skip this part – You’ll thank me later. We basically need to make ‘tomee‘ the file owner.
- Open an elevated command prompt (as an ‘administrator’) and run the following command:
cacls "C:/Users/tomee/jmxremote.pw.txt" /G tomee:F
This grants the ‘tomee‘ user full access to the file, but we actually need to give ownership to this user. Again this is probably more tedious in a Windows environment than it should be, but here goes:
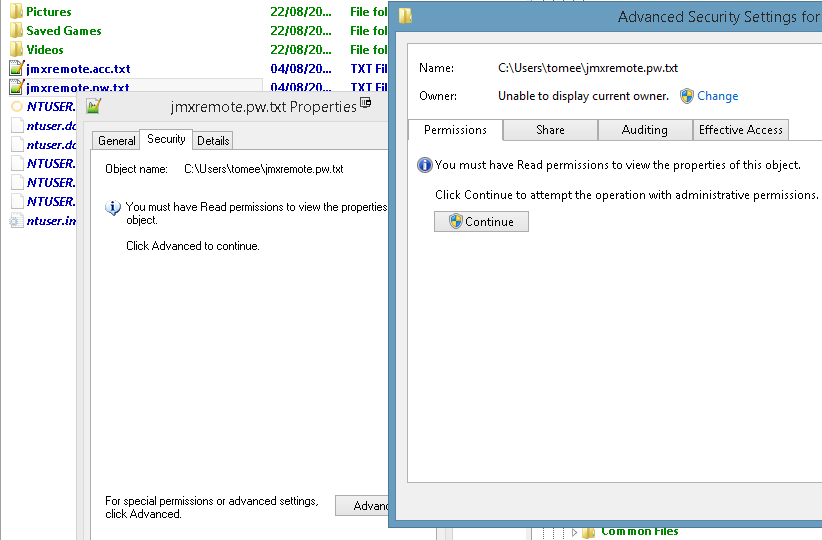
- In File Explorer locate and right click on the C:/Users/tomee/jmxremote.pw.txt file and select ‘Properties‘ – ‘Security‘ – ‘Advanced‘.
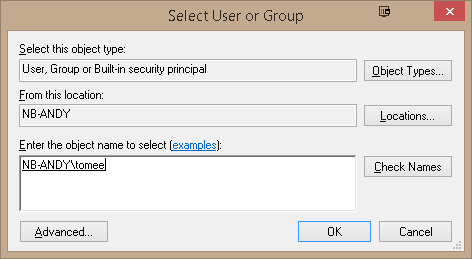
- On the Advanced window click ‘Change‘ to change the owner. Type tomee and then click on ‘Check Names‘ to ensure you have the right user. Click on ‘OK‘ when you are done.
- Close all the security related windows – If you now try and open the file you should get an access denied warning.
- You can now restart the service using the TomEE service configuration or the Windows Service snap-in.
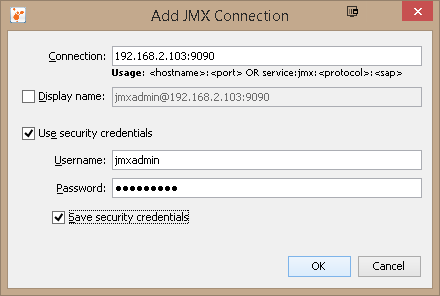
If all is well then you are now ready to test VisualVM using the authenticated service. The next time you start VisualVM you will be prompted for the ‘Username‘ and ‘Password‘. Just ignore and cancel that, as it is much easier to re-add the new configuration and store the credentials. Same as above, simply right click the ‘Local‘ node and select ‘Add JMX Connection‘ to open the configuration window.
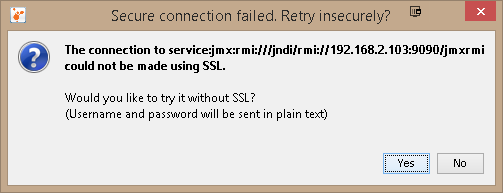
VisualVM will usually first try to connect using SSL if a valid configuration is found. You may be prompted to retry without SSL, which is fine. Just go ahead and connect.
In Summary – Secure Remote Monitoring of an Apache TomEE Windows Service
Not only do you now know how to monitor your production environment Apache TomEE Windows Service, you know how to do it securely from a remote machine. This provides you with a low overhead means of keeping a check on your runtime environment to ensure everything is performing well.
A word of warning: For your own protection, do not enable this feature outside of a secured or local network environment. Although we have secured monitoring with a password, network traffic is still in clear. That kind of leads on to another subject: ‘Connecting with SSL using VisualVM’ – Let me know if you are interested in that?


